My current Mac -- a G5 PowerPC tower -- has been pulling steadily for me since 2003 but has been showing its age the last year or two. Primarily, its chipset (PowerPC) won't run the latest version of the Mac OS (Snow Leopard), and its 1.8 ghz processor and eight-year-old graphics card (driving two 21" monitors) often labor to process the increasingly large (HD) streaming video off the web. So I decided it was time to upgrade. (Hey, it's a business deduction.)
After no small amount of research I opted for the latest Mac Mini. It's just the "computer" -- no monitor, keyboard, mouse, etc. -- which is all I need. It comes with a 2.66 ghz processor, a way faster graphics card, two gigs of RAM, and a 500 gig drive (5,400 rpm -- why doesn't Apple offer a 7,200 rpm drive?). To upgrade the Mini, I ordered eight gigs of RAM (4 gig chips x 2) and a faster (7,200 rpm) 500 gig drive to replace the drive that comes in the Mini. (I ordered these parts from Other World Computing from whom I've bought Mac stuff over the years -- highly recommended -- except for -- see below.)
Swapping out RAM (taking out the two one-gig chips and replacing them with the two 4-gig chips) is easy enough. But changing out the hard drive is probably above my pay grade. Fortunately, OWC has excellent step-by-step videos on their web site for how to do everything. The video for swapping out my hard drive said the job was "four out of four" on the difficulty scale -- rated "Challenging." But the video is really clear, so I decided to tackle it myself. (The video said "30 minutes," but I spent two hours. Story of my life.)
Macs seem to be as beautifully designed on the inside as on the outside. Amazing that just a few weeks ago the deft hands of several Chinese assemblymen/women put this little marvel together. (Wired magazine recently did an article on the massive Foxconn factory in China where Apple, and other, products are assembled. It's like a small city, complete with workers taking their own lives -- 17 of the one million workers last year. If folks spend all their waking hours doing what I did for two hours, one can see how the frustration could mount.)
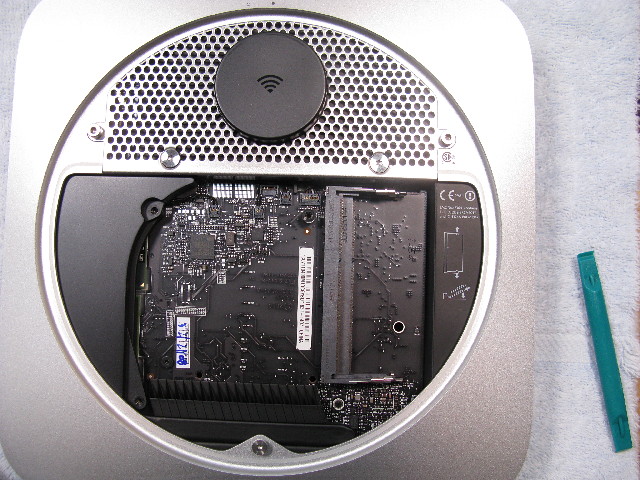
With the bottom cover of the Mini removed. The hard drive sits under the grill in the top of the photo; the round black circle is the Wi-Fi antenna; I had already removed the two RAM chips from the rectangular slots on the right side. Not a centimeter of wasted space:
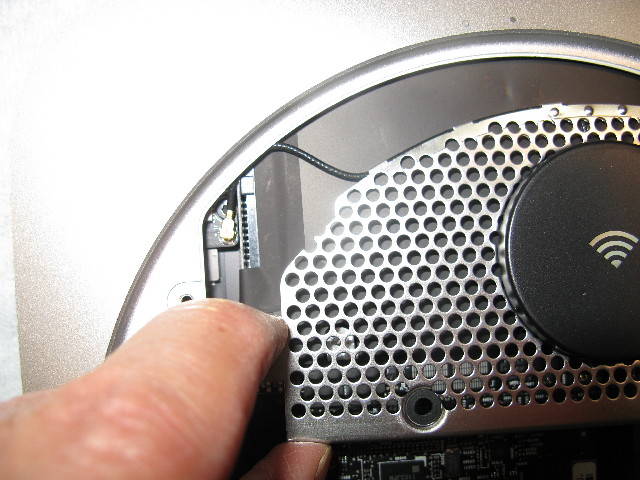
I would take pics along the way to make sure I remembered how things fit -- in this case, the antenna wire going underneath the cowling when reconnected and reinstalled:
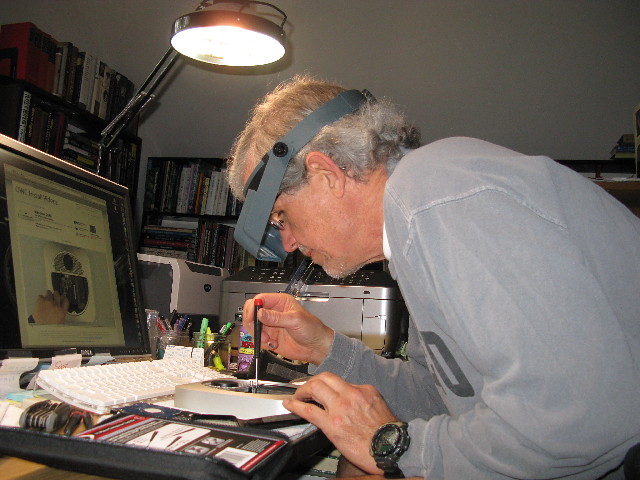
After doing this for a while, I grabbed my box set of McGuffey's Readers to set the Mini on. The magnifiers I'm wearing have a focal length of about six inches, so you have to be right down on the subject. Raising the Mini up off the desk provided needed relief:
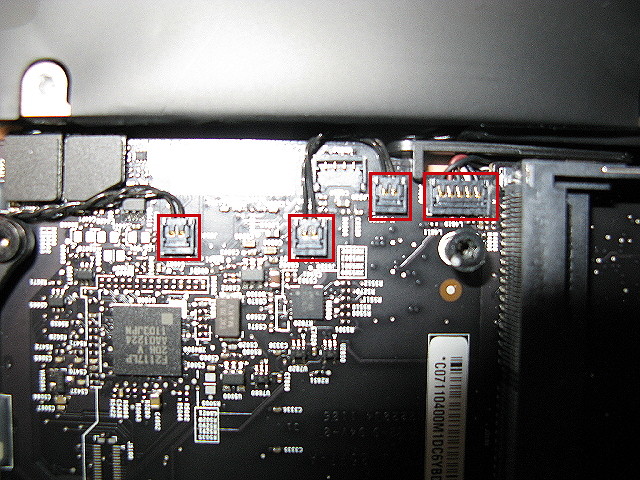
This is why I took pictures -- so I'd know where to reconnect these and other plugs:
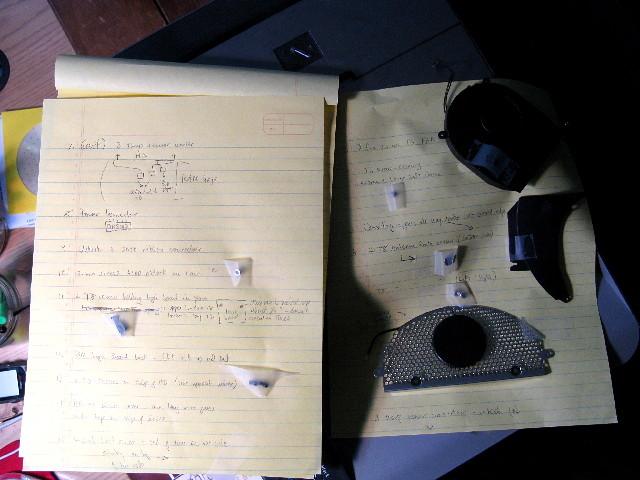
I also wrote down the steps as they appeared on the video and taped the pieces and parts -- and the TINY screws -- next to each step -- then worked backward to reassemble everything (the video, of course, goes through reassembly as well):
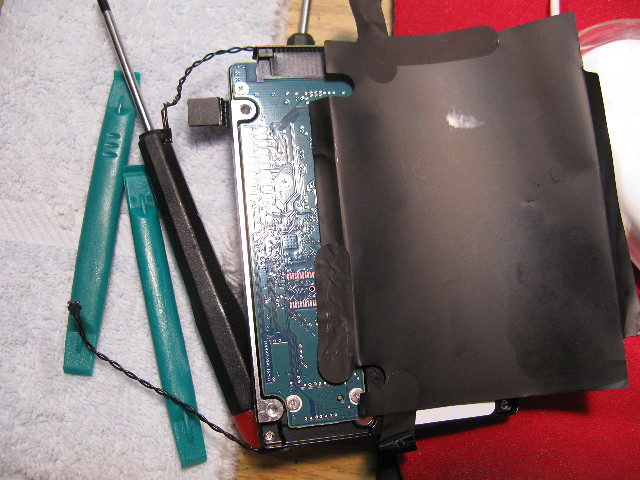
The hard drive itself after being removed -- I remember when 20 megabyte drives looked like a brick. Now you get 500 gigabyte drives the size of an old 3.5" floppy:
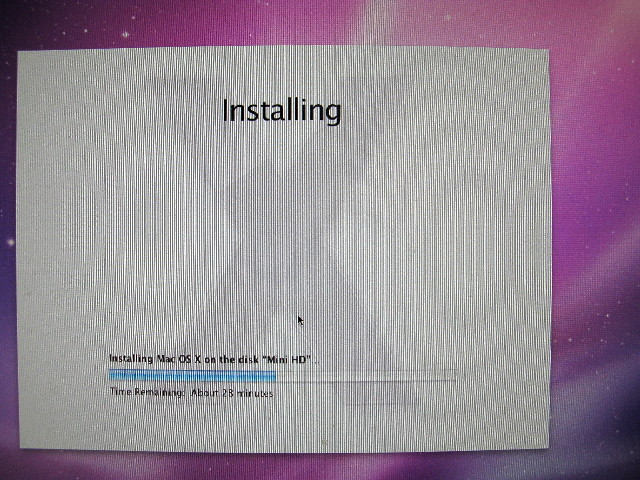
With the new drive and new RAM installed, and no leftover parts, it was time to format the new drive and install the Mac OS. Then, connect to the router and download lots of software updates from Apple -- without a hitch. Amazing:
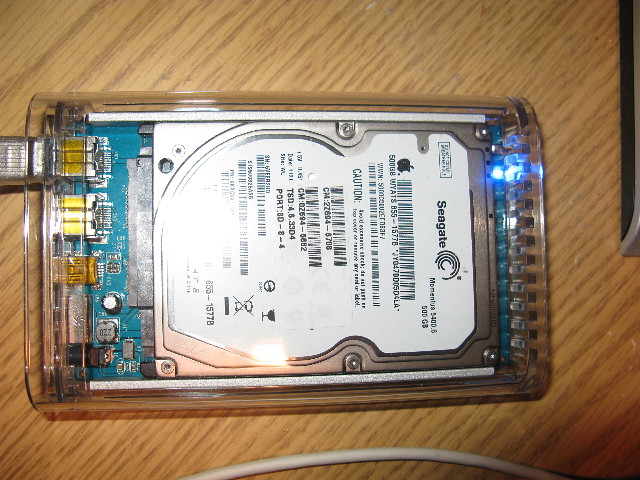
When I bought the faster hard drive from OWC, that meant I would have the original hard drive left over. So I bought a drive enclosure from them and turned the original Mini hard drive into a 500-gig external drive to use for backups, etc. Very nice -- draws power from the USB connection so it powers on and off with the computer. Is completely portable -- toss it in a briefcase and go:
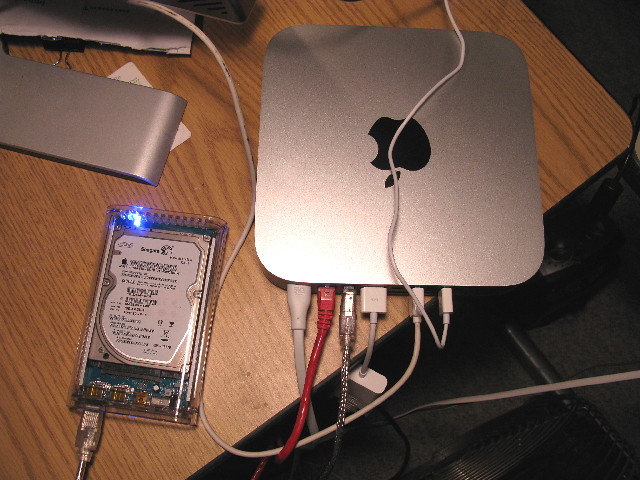
The Mini and new external HD are now connected to one of my two monitors, with its own keyboard and mouse. The next challenge will be move all my existing files and apps from the old Mac to the Mini, done my connecting the two Macs with a Firewire 800 cable and using Apple's Migration Assistant utility program -- with fingers crossed:
Everything went slowly, but smoothly. My only complaint was the toolkit I bought from OWC with Torx screw drivers (five-pointed male and female instead of slots or Phillips), tweezers (invaluable, though the guy on the video didn't need them!), and nylon pry tools. The tips of the Torx drivers are too soft -- one didn't fit at all, another's points wore down quickly. I had a great set of mini-drivers, for fixing computers, etc., that I had bought from ifixit.com, a number of months ago, and that set contained all the right sizes of Torx drivers I needed -- hard tips, magnetized -- great tools. (ifixit.com is an amazing how-to site for fixing tech stuff.)
I have no idea where I would have had this work done. I figured if I was going to void the Apple warranty by replacing factory parts, I might as well void it myself instead of paying somebody else to do it. So far, so good.
And the new Mini, compared to the old G5, is WAY fast -- especially streaming off the web. Things will slow down after I move everything onto the new drive from the old computer. But right now, it's a poppin' machine.
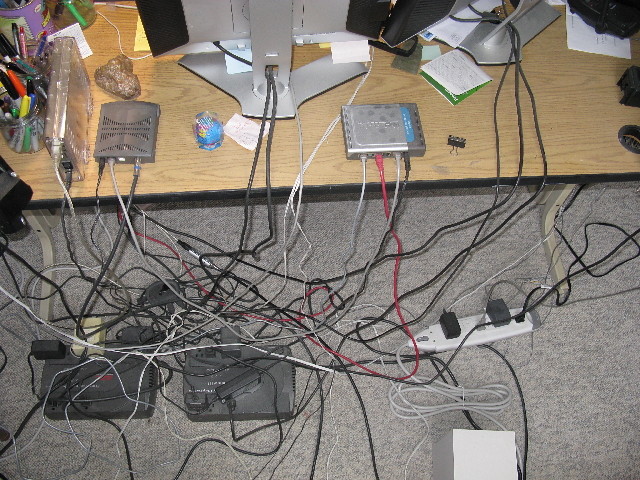


Wow, that was cool how you wrote all the steps down on the pad of paper and taped the screws to the notes. Great idea. I also got a laugh out of seeing all those wires coming off your desk. It will be nice when everything is wireless...
ReplyDeleteWhat an accomplishment! I hope you enjoy your new equipment.